Supposing you work for the one company, yet you have subsidiaries’ of this company requiring more than one email address as a contact for yourself. This is how you add the additional email address(es) to your account.
Let’s begin …
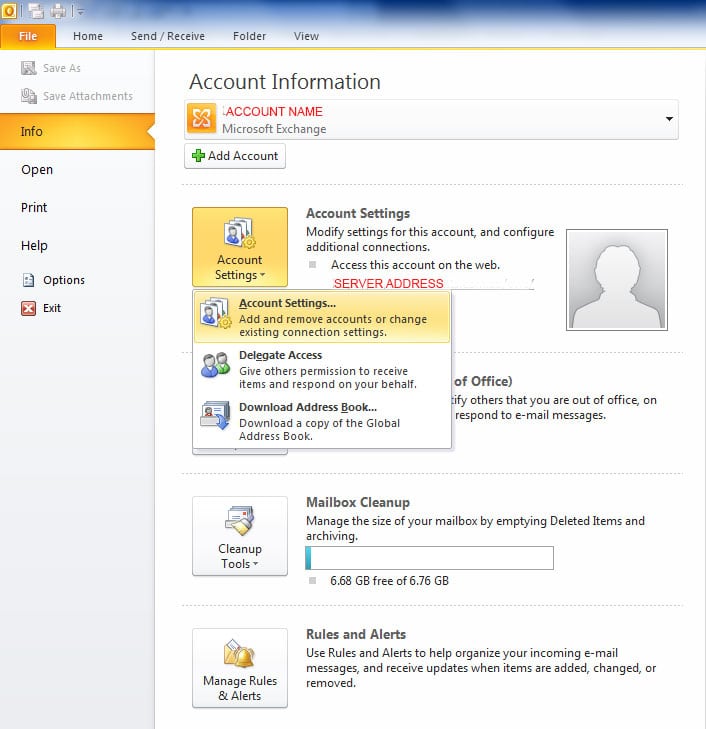
- Open the software program Outlook 2010
- Select File
- Click on Account Settings and select Account Settings… from the drop-down window
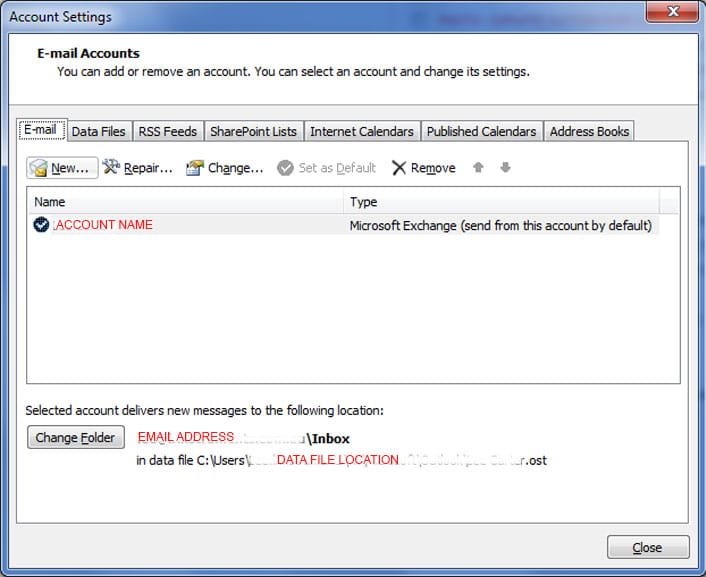
Go to the E-mail tab and select the New… option
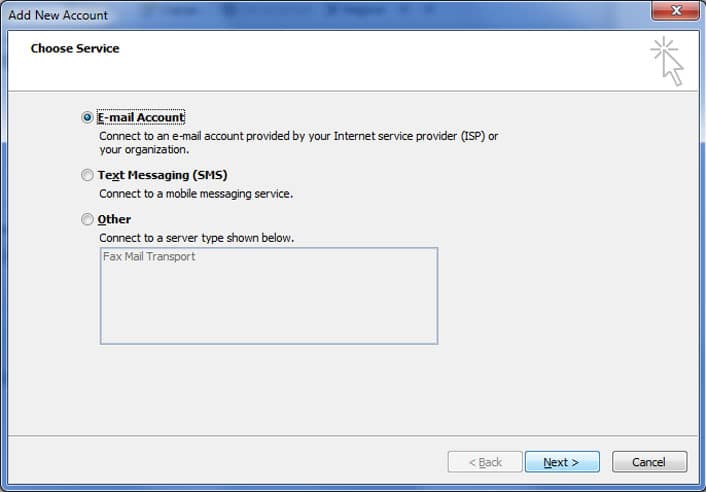
Default is selected at Email Account, then click on Next
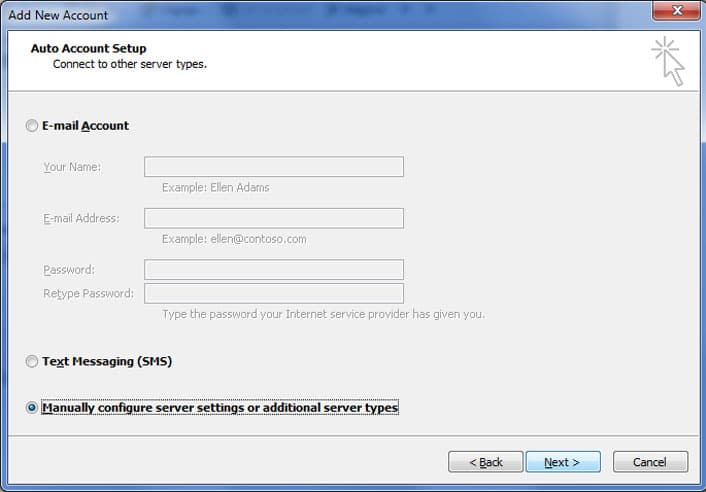
Select Manually configure server settings or additional server, then click on Next
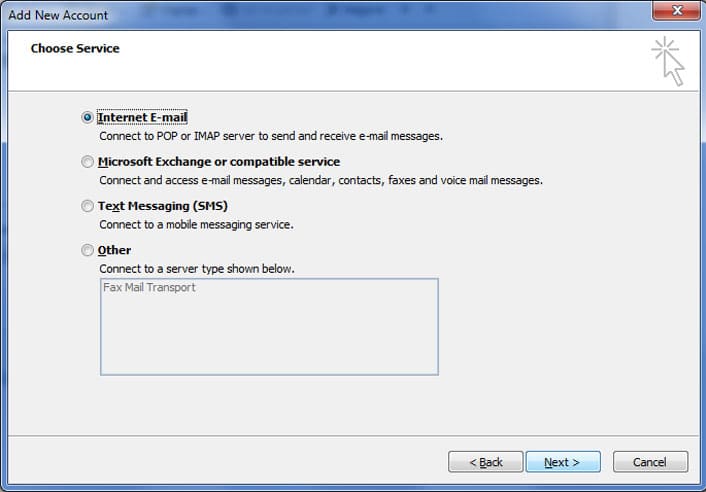
Leave the Internet E-mail checked and click on Next
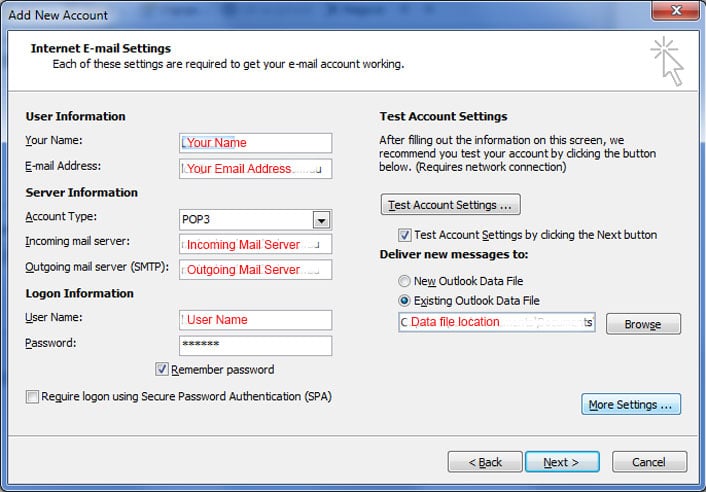
On this next window, fill out all the information as shown by the highlighted areas. In this instance we will set up an email account for name@domain.com.au
- Your Name: [enter name]
- E-mail Address: [enter email address]
- Account Type: POP3
- Incoming mail server: [enter mail server from email host provider]
- Outgoing mail server (SMTP): [enter SMTP outgoing mail server from ISP provider]
- User Name: [enter username]
- Password: ******
Next, under Deliver new message to: select Existing Outlook Data File and click on Browse.
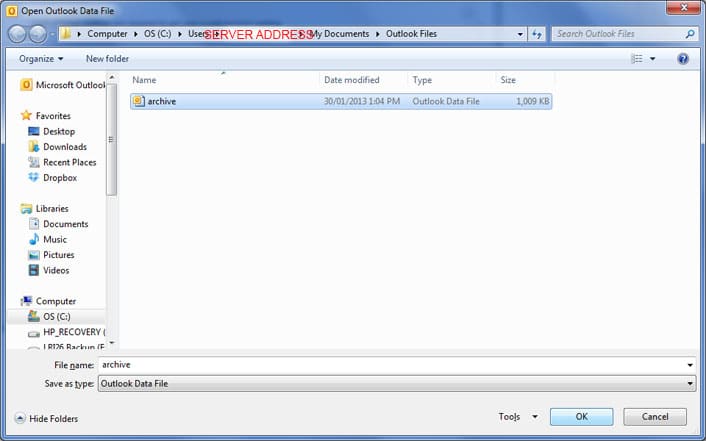
From the next window, browse to (if necessary) and select the current Outlook Archive file that is being used and click OK.
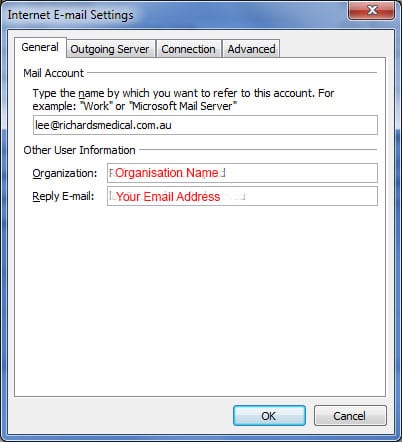
Click on More Settings

On the Internet E-mail Settings window, fill out the information on the General tab as follows:
- Organisation: [enter business name]
- Reply E-mail: [enter email address for reply emails]
Once completed, click on OK
Click Next. Outlook will then run a test for the new account just set up and make sure it can process properly.

It should then result in a window like below.
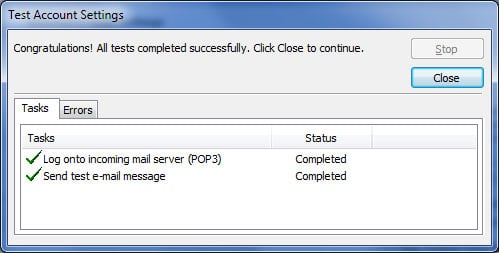
Once completed, click Close If you have another email account to add, select Add another Account button from this next window. Otherwise click on Finish to complete task.
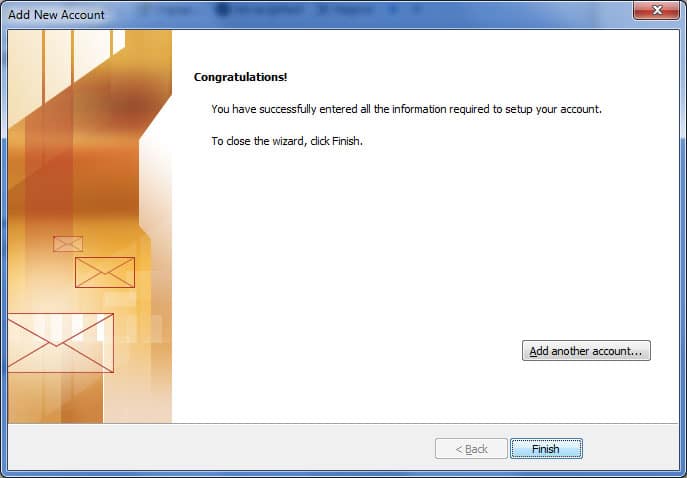
This should then add the email address resulting in the following window confirming that the account has been added as a POP/SMTP type.

Click on Close
Job Done!
If you have made it this far, then both you and I have succeeded! Hope you enjoyed this tutorial.